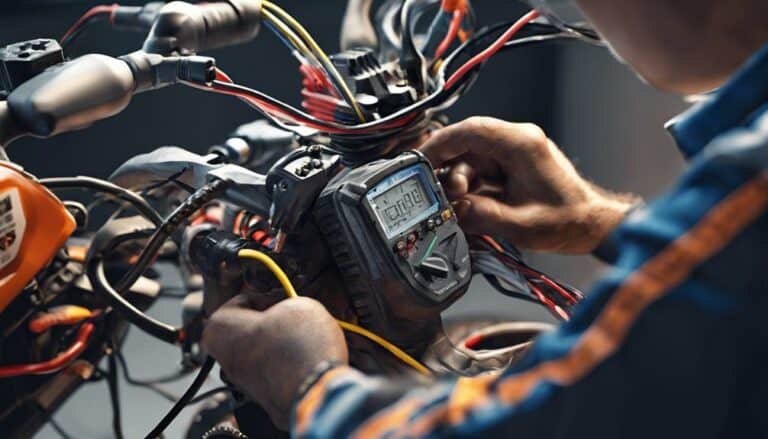
When checking the wiring harness on your dirt bike for electrical issues, start by inspecting the connections for tightness and signs of corrosion. Use a multimeter to test for faults and guarantee proper grounding. Look out for flickering lights, battery corrosion, or damaged fuses as common issues. Essential tools like a multimeter, wire strippers, and soldering equipment are vital. Prioritize safety by disconnecting the battery, wearing insulated gloves, and avoiding exposure to water. Following a systematic approach and thorough inspection is key to maintaining a reliable electrical system on your dirt bike. Mastering these steps will keep your bike running smoothly.
Key Takeaways
- Inspect wiring harness for wear or damage.
- Check connectors for corrosion or loose connections.
- Test continuity with a multimeter along the harness.
- Look for exposed wires or frayed insulation.
- Ensure harness is securely routed and not pinched or crushed.
Importance of Wiring Diagrams
Understanding the significance of wiring diagrams is essential for accurately diagnosing and resolving electrical issues in your dirt bike. A wiring diagram serves as a roadmap that outlines the intricate network of wires, connectors, and electrical components within your bike's electrical system. By referring to the correct wiring diagram specific to your dirt bike's make, model, and year, you gain important insights into the wiring layout and connections. This knowledge is key for effective troubleshooting and ensuring that electrical repairs are carried out correctly.
Using the wrong wiring diagram can introduce confusion and errors into the repair process, potentially leading to improper connections, electrical failures, and safety hazards. Even classic bikes that have undergone rewiring necessitate accurate wiring diagrams for precise diagnostics and repairs. Ensuring that you have the right wiring diagram on hand before starting on any electrical work is fundamental to maintaining the integrity and safety of your dirt bike's electrical system.
Essential Tools for Diagnosis
To effectively diagnose electrical issues in your dirt bike, having essential tools such as a multimeter, wire strippers, and soldering iron is important. A multimeter is essential for testing the continuity of wires, voltage outputs from components like the stator inputs, and the health of the battery.
Wire strippers enable you to access the wiring within the harness for inspection, while a soldering iron and solder are necessary for repairing any damaged wires or connections. In addition to these tools, it's beneficial to have assorted connectors and terminals on hand to replace faulty components within the wiring system.
Electrical tape plays a crucial role in securing and insulating repaired or spliced wires to prevent short circuits and maintain the longevity of the repairs. By equipping yourself with these tools, you empower yourself to effectively troubleshoot and address any electrical issues that may arise with the wiring, battery, ignition coil, or ground wires on your dirt bike.
Ground Connections Inspection
Examine all ground connections on the wiring harness thoroughly for tightness and signs of corrosion to guarantee excellent electrical conductivity. Proper grounding is essential for the electrical system to function correctly on your dirt bike. Loose or corroded ground connections can lead to various issues, including overheating and melting, which may pose safety hazards and affect the bike's performance. Use a multimeter to test the continuity and resistance of the ground connections to identify any faults accurately. Make sure that the ground wires are securely attached to unpainted, clean metal surfaces to maintain proper conductivity. Checking for overheating or melting around the ground connections can provide early indicators of potential electrical problems. Below is a table summarizing the key steps to inspect ground connections effectively:
| Ground Connections Inspection |
|---|
| 1. Check for tightness |
| 2. Look for corrosion |
| 3. Inspect for overheating |
| 4. Test with a multimeter |
Common Electrical Issues to Look For
To guarantee top performance and safety of your dirt bike, promptly address any typical electrical issues indicated by symptoms like flickering lights or intermittent power.
Start by checking the battery for any signs of corrosion or low voltage that could affect the overall electrical system. Inspect the main fuse for any signs of damage or overheating, as this could point to underlying issues within the wiring harness.
Use your multimeter to test the charging system and confirm that both the positive and negative diodes are functioning correctly. If you notice dim or flickering lights, it could be a sign of a faulty connection or wiring harness problem that needs attention.
Safety Precautions and Best Practices
What important safety measures should you implement before inspecting the wiring harness of your dirt bike for electrical issues?
First and foremost, always remember to disconnect the battery to prevent any electrical shock hazards.
It's essential to wear insulated gloves throughout the inspection to safeguard yourself from potential risks.
Additionally, avoid exposure to water during the examination to prevent short circuits or damage to the wiring harness.
Before reassembling, double-check all connections to make certain they're secure and properly in place.
As a best practice, keep a fire extinguisher nearby as a safety precaution in case of unexpected electrical issues arising during the inspection.
By following these safety measures diligently, you can significantly reduce the likelihood of accidents or injuries while working on your dirt bike's wiring harness.
Stay vigilant and prioritize safety at all times to enjoy a smooth and secure inspection process.
Conclusion
To guarantee your dirt bike is running smoothly, routinely inspect the wiring harness for any electrical issues.
Were you aware that as many as 50% of all electrical problems on dirt bikes are due to faulty wiring connections?
By adhering to correct diagnosis techniques and safety precautions, you can avoid potential issues and maintain your bike in top condition for your next ride.

