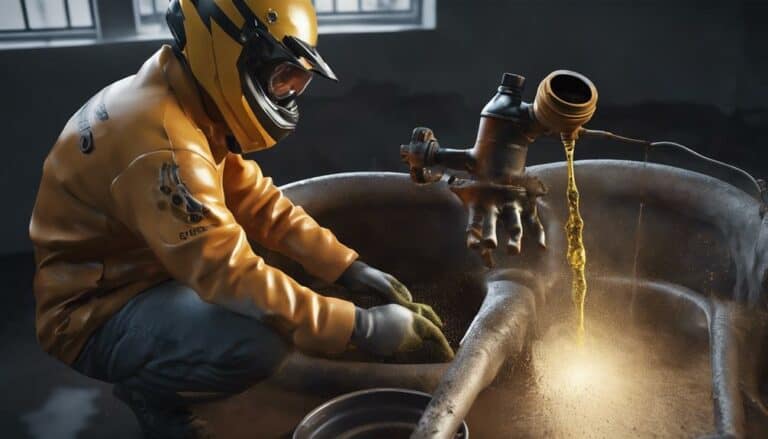
As you stand there, dirt clinging to your boots and the scent of engine oil lingering in the air, you realize the importance of a well-executed dirt bike oil change.
But what are the exact steps you need to take to guarantee your trusty ride stays in top shape?
From draining the old oil to properly disposing of it, each step plays an essential role in maintaining your bike's performance.
Stay tuned to uncover the secrets to a successful oil change that will keep your dirt bike running smoothly for many rides to come.
Key Takeaways
- Drain old oil by removing drain bolt and replacing oil filter
- Refill with correct oil type and amount, checking level properly
- Monitor oil quality regularly for engine health
- Dispose of old oil responsibly to protect the environment
Drain the Old Oil
To begin draining the old oil, locate the drain bolt on the bottom of the engine of your Dirt Bike and use a suitable wrench to loosen and remove it. Make sure to position an oil pan underneath the bike to catch the draining oil. Allow the old oil to completely drain out before proceeding with the next steps. This step is vital in ensuring that all the old oil is removed from the engine.
Once the oil has drained out completely, clean the drain bolt and the surrounding area to prevent any dirt or debris from entering the engine when you screw it back in. Tighten the drain plug securely but be careful not to overtighten it, as this could cause damage to the threads. Ensuring a snug fit will prevent any leaks once you refill the bike with fresh oil. By following these steps, you're taking the first essential step in the process of changing the oil in your Dirt Bike.
Remove and Replace Oil Filter
When removing and replacing the oil filter on your dirt bike, start by making sure the engine is cool to prevent burns or injuries.
Begin by cleaning the area around the oil filter housing to prevent dirt from contaminating the engine oil.
Use the correct size wrench or socket to carefully remove the oil filter housing without causing damage.
Inspect the O-ring or gasket on the housing for any signs of wear and replace it if necessary to avoid leaks.
Remove the old filter and dispose of it properly.
Before installing the new filter, lubricate the O-ring with clean oil to guarantee a proper seal.
Install the new filter, making sure it's seated correctly.
Use a torque wrench to tighten the oil filter housing to the manufacturer's specifications. This step is critical to prevent leaks and ensure proper function of your dirt bike's engine.
Refill With Fresh Oil
Refill the dirt bike engine with the correct type and amount of fresh oil as specified by the manufacturer to guarantee peak performance.
To begin, make sure the bike is on a level surface to obtain accurate oil level readings. Next, grab a funnel to prevent spills and pour the fresh oil slowly into the oil fill hole. It's important to avoid overfilling, so add the oil gradually.
After refilling, use the dipstick to check the oil level or the sight glass, if applicable. Double-check the oil level to make sure it falls within the recommended range for safe and efficient engine operation.
Check Oil Level and Quality
After refilling the dirt bike engine with the correct type and amount of fresh oil, the next step is to check the oil level and quality to guarantee excellent performance and longevity.
To begin, let the oil warm up by starting the engine and letting it run for a few minutes. Then, turn off the engine and allow it to sit for a couple more minutes to let the oil settle. Check the oil level using the dipstick or sight glass on the bike, making sure it falls within the recommended range for proper lubrication.
Additionally, inspect the oil color, which should be a clear amber or slightly darker hue. Look out for any metal particles or debris in the oil, as they could indicate potential engine issues that need addressing.
Regularly monitoring the oil quality and level is critical for maintaining engine health and excellent performance.
Dispose of Old Oil Properly
Dispose of the old oil properly by taking it to a recycling center or an auto parts store that accepts used oil. Here are three essential steps to make sure you dispose of old oil in an environmentally friendly manner:
- Avoid Environmental Damage: Refrain from pouring old oil down the drain, on the ground, or into the trash, as it can harm the environment and contaminate water sources.
- Utilize Hazardous Waste Disposal: Look for local hazardous waste disposal sites or events to safely get rid of old oil and prevent it from becoming a hazard to the surroundings.
- Use Proper Containers and Equipment: Reuse oil containers for storing the old oil before disposal to prevent spills and contamination. Consider using an oil drain pan with a built-in reservoir for easier collection and disposal of old oil, making sure a clean and efficient process.
Following these steps won't only help you properly dispose of old oil but also contribute to environmental protection by avoiding the negative impacts of improper disposal.
Conclusion
In summary, performing a dirt bike oil change is essential for maintaining top performance.
Did you know that regular oil changes can extend the lifespan of your dirt bike by up to 50%?
By following the steps outlined in this article and changing the oil every 5 to 10 riding hours, you can guarantee your dirt bike stays in top condition and lasts for years to come.
Don't skip this important maintenance task!

